
Image & Gallery
This page will cover the essential image-related editing topics including:
- Adding an image block
- Changing image alignment
- Swapping out an image
- Linking an image
- Changing an image’s alternative text
- Editing an image’s dimensions
- Adding a gallery block
Add an Image Block
To add a single image to a page or post, open the page or post where the media image should appear.
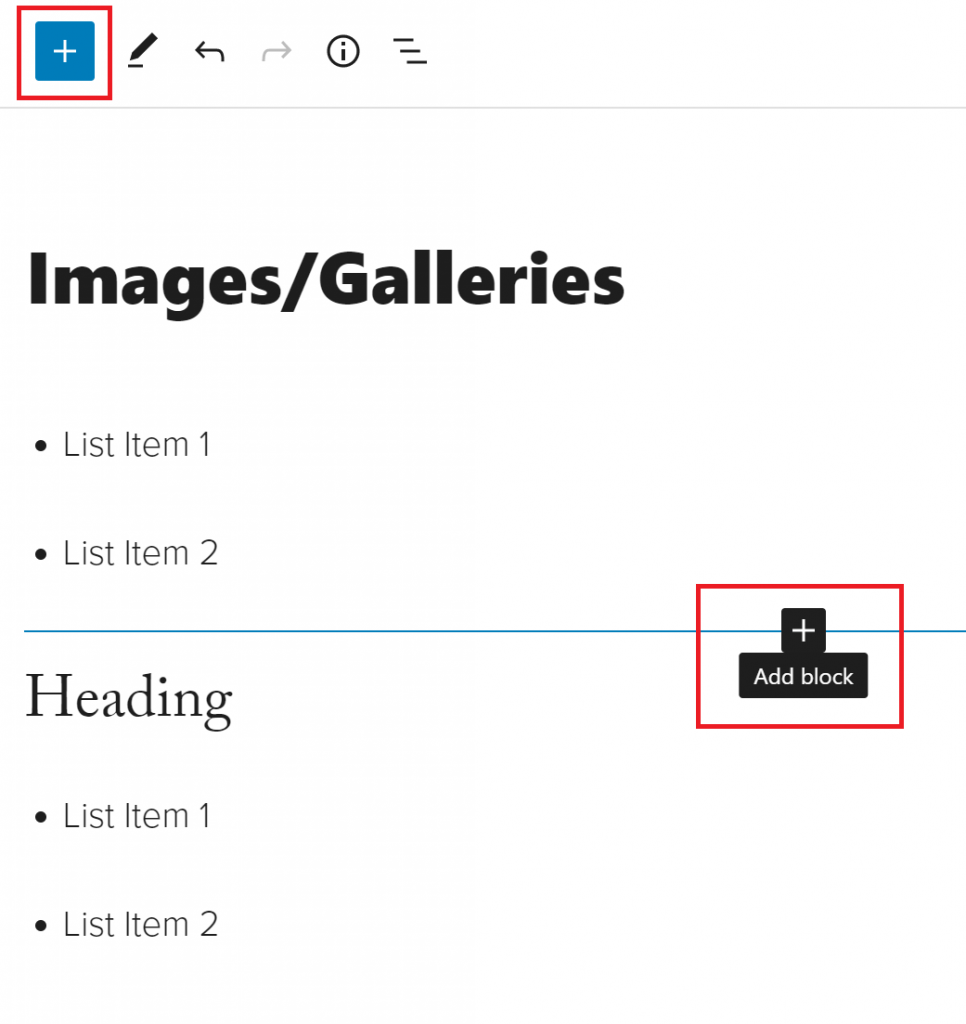
Determine which section of the content is appropriate for the image and then either:
- Hover over the area until a plus sign appears. Hover over the plus sign and add an “image block”.
- Select the plus sign in the top left corner of the editor and add an “image block”. Then move the image block to the correct location within the content.
Once the Image block is opened in the desired location, upload an image or select an image from the existing Media Library.

To upload a new image, click the “Upload” button in the image block. Locate the appropriate image in the computer files and select “Open”. The image will appear in the image block.
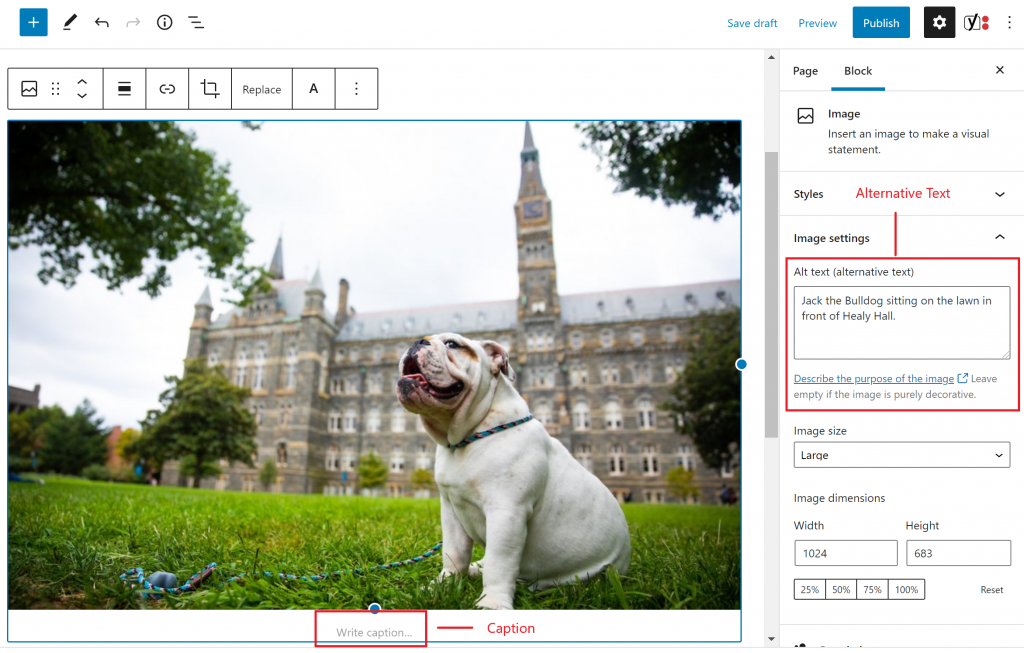
The image caption should appear below the image. Be sure to add alternative text to any uploaded images. For best practices on writing alternative text, visit our Web Accessibility website.
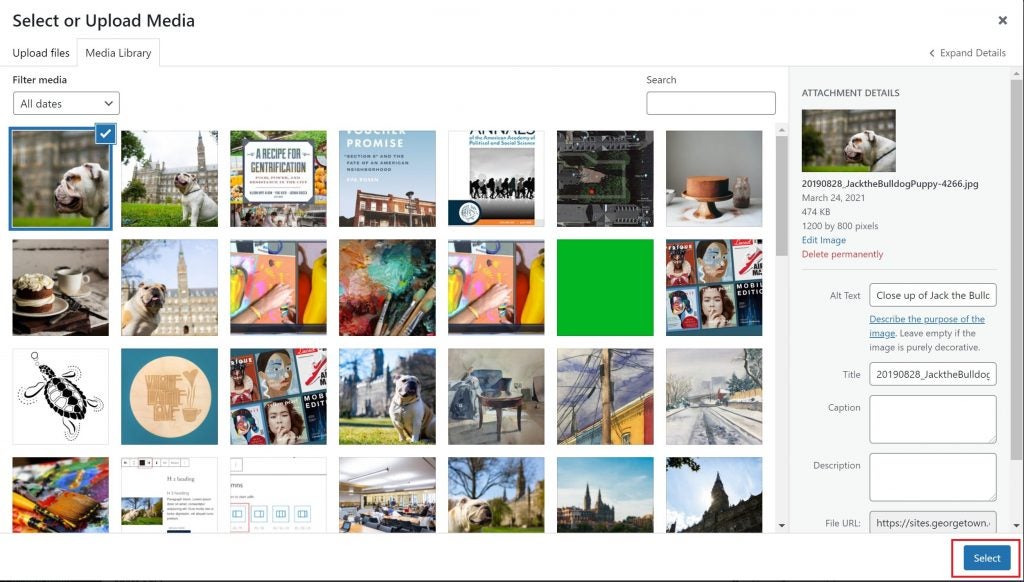
To select an image which has already been uploaded into WordPress, select the “Media Library” button in the image block. There will be two tabs: “Upload Files” and “Media Library”. In the Media Library section, all of the media previously uploaded to the site will be listed.
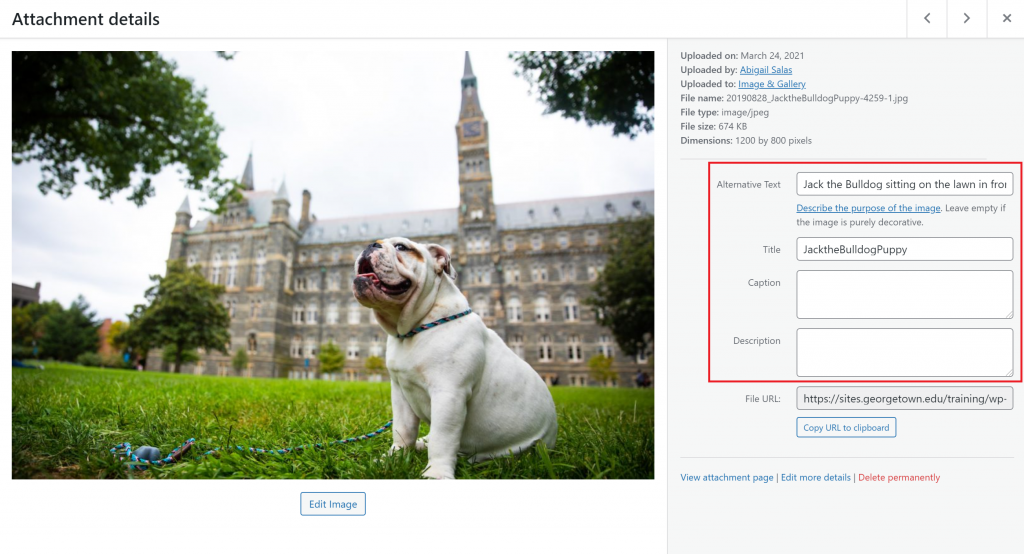
Select the desired image by clicking on it within the library. Review the alternative text, caption, description and title, then click the “Select” button.
Edit an Image Block
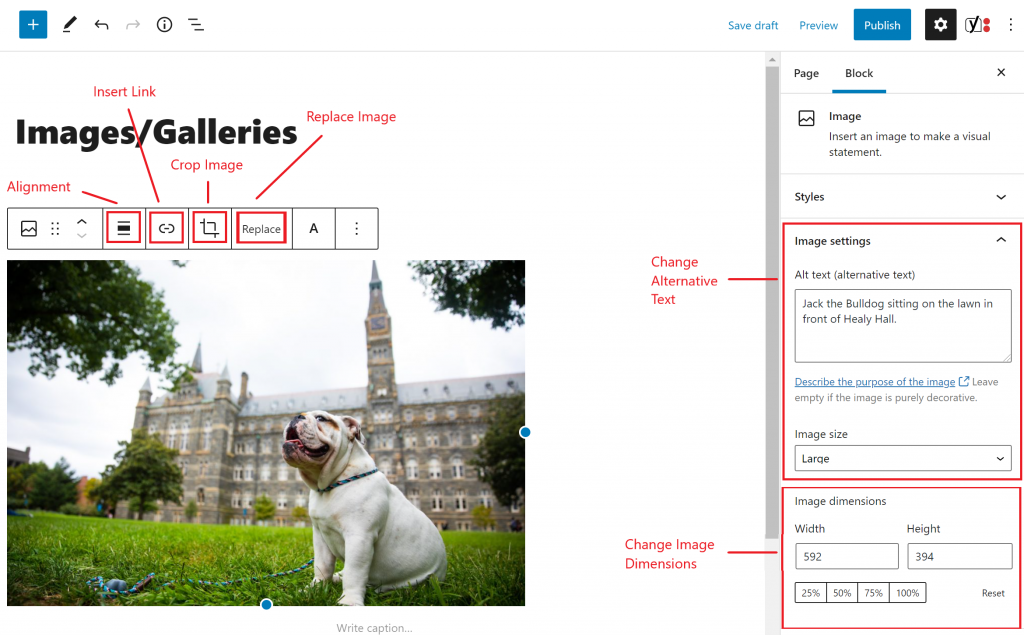
Use the top toolbar to align and float the image, link the image, crop the image, or replace the image. In the block settings to the right of the page, you can edit the alternative text as well as the image dimensions.
Alignment
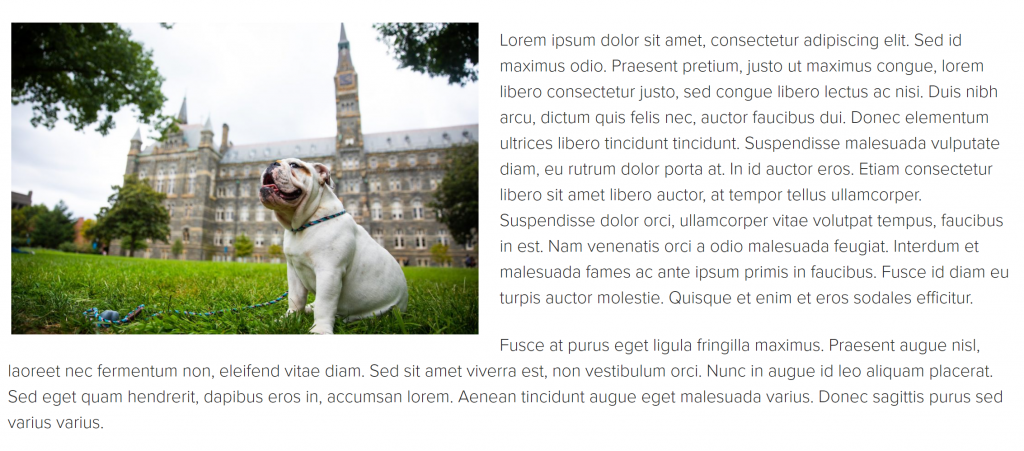
Alignment allows content editors to include a content block that has other text or content floating around the image. You will need to wrap any text you have written around the image. An image can be positioned to the right, center or left. An image floated to the center will not have text wrapped around it. It is recommended to float images on the left or the right, using the middle as a breakpoint (rather than just creating a floating image).
A left aligned image looks like this:
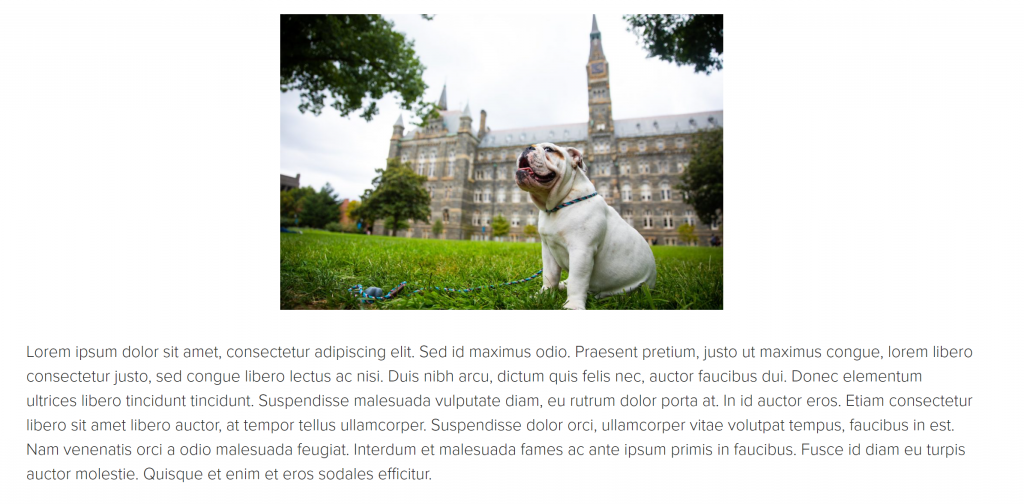
A center aligned image looks like this:
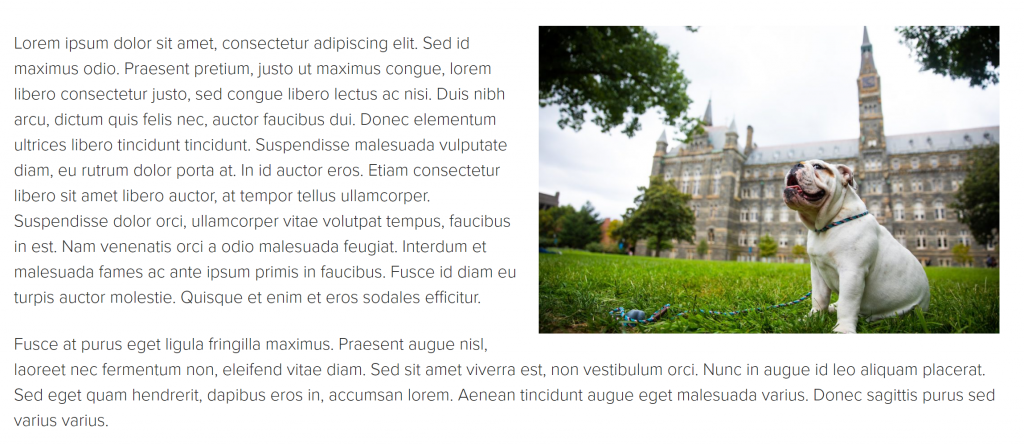
A right aligned image looks like this:
Change an Image
Click on the reaplce button in the toolbar above the block to open the Media Library.
Click on the image that should replace the existing one. Hit the “Select” button and the old image will be replaced with the selected image.
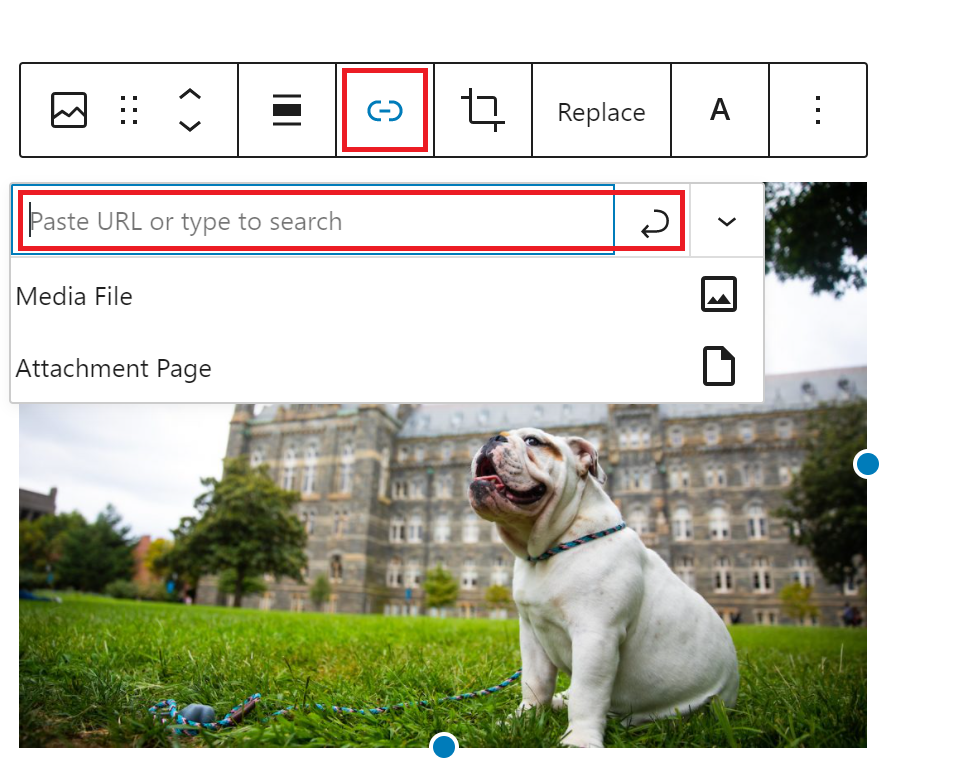
Link an Image
Click on the link icon in the toolbar above the block to add a link to the image. You can add the link by typing the URL for external links or searching for the page title for any internal links.
Change Alternative Text
Use the “Alt Text” field to change the alternative text for the image on this page. The Alt Text field controls what text replaces the image in case of slow-loading sites, or for readers using screenreaders and other assistive technology. For best practices on writing alternative text, refer to the Web Services guide on accessibility.
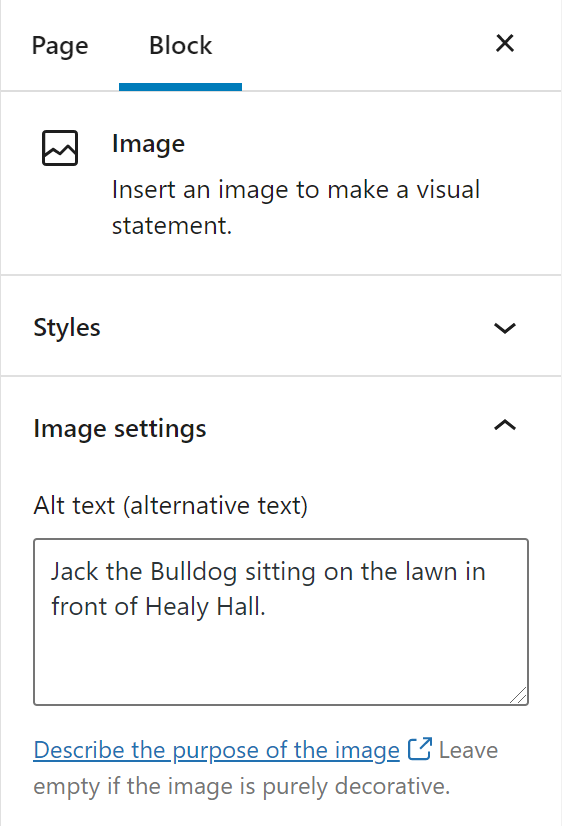
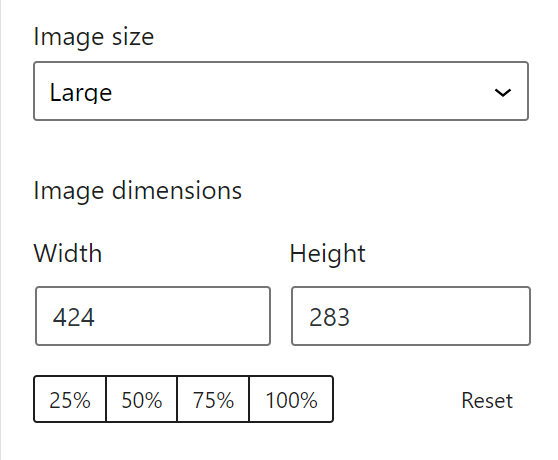
Image Dimensions
Editing an Image directly on a Post or Page will resize the image on that specific page rather than editing all of the image appearances on every page.
There are two options to resize an image directly on the page or post. These changes will only affect this image on this specific page.
- Image dimensions: for custom image sizes, use the “Image Dimensions” field by inputting specific pixel sizes.
- Image Size: Use the pre-set image size options to resize the image and select one of the size options.
Delete an Image Block
To delete files from a page or post, first click on the file. Then either hit the “delete” key on your keyboard.
OR
Click on the three dots in the upper right corner of the file bock to open the block settings and select “Remove Block”.
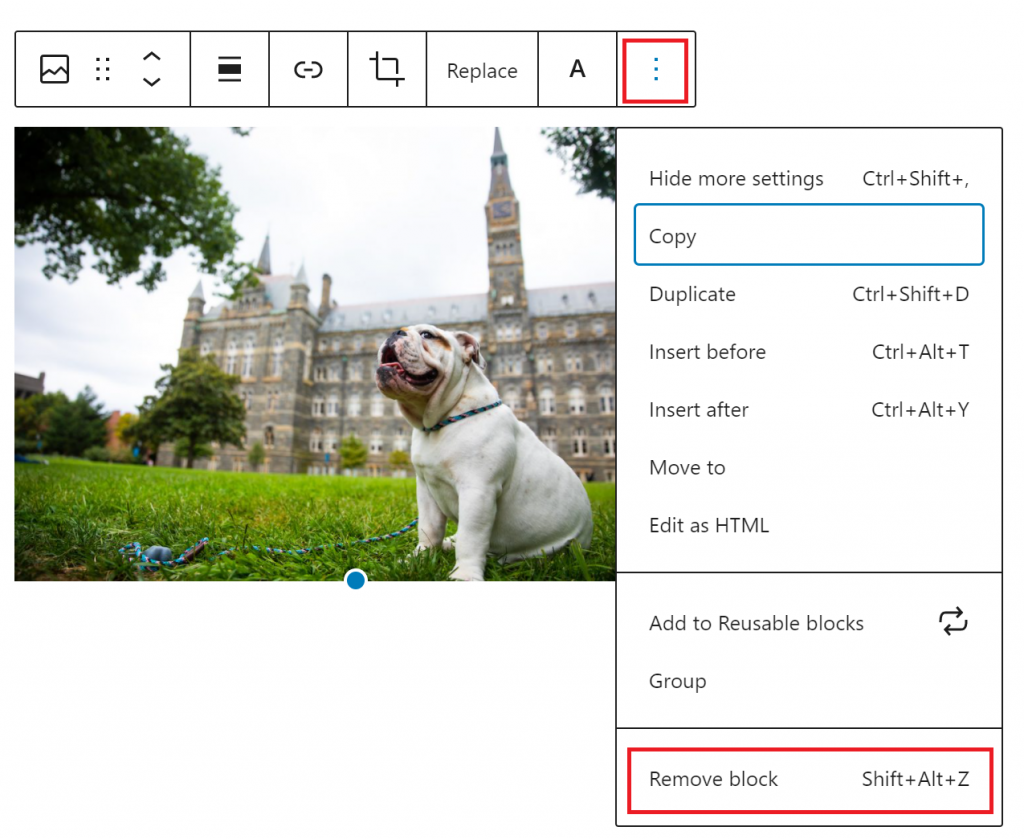
Image Styles
You can change the style of an image in the block settings to the right of the page. You can choose between the default style and a circle mask.
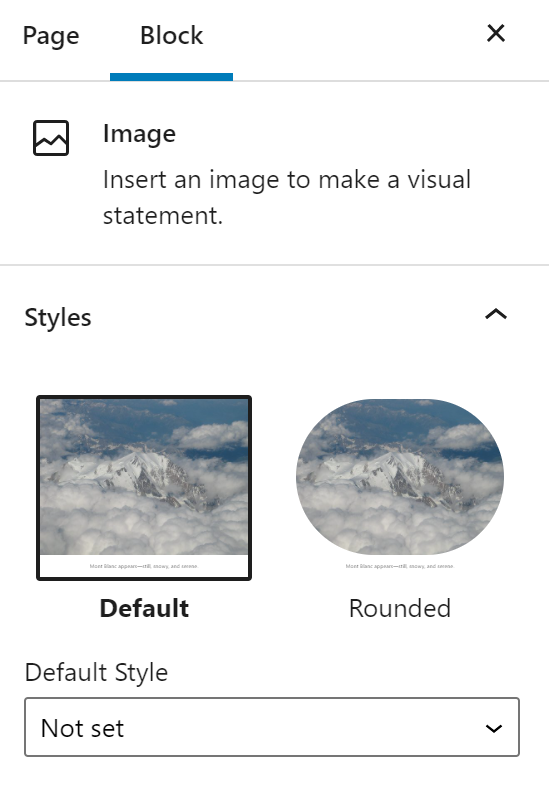
The default style looks like this:
The circle mask style looks like this:
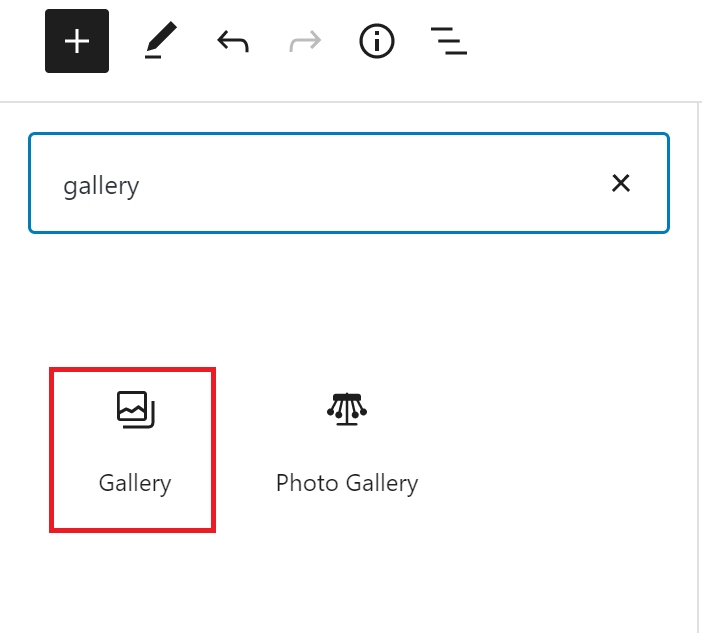
Add a Gallery Block
To add a Gallery block use the “+” symbol to the upper left corner of the page and select the icon for Gallery.
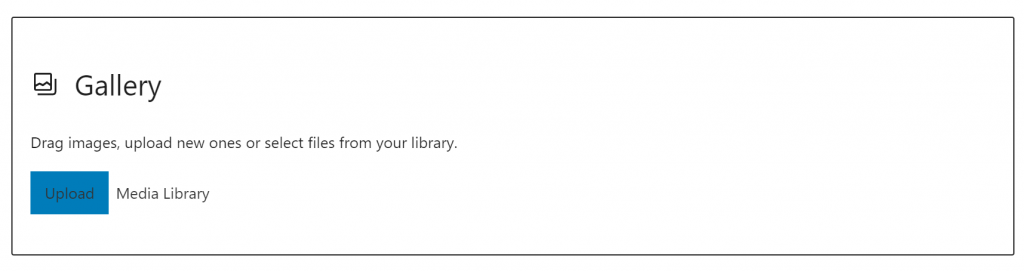
Like the Image block, once the Gallery block is opened in the desired location, you can upload your images or select images from the existing Media Library.
Once you have selected your images hit the “Create a new gallery” button in the bottom right corner of the Media Library.
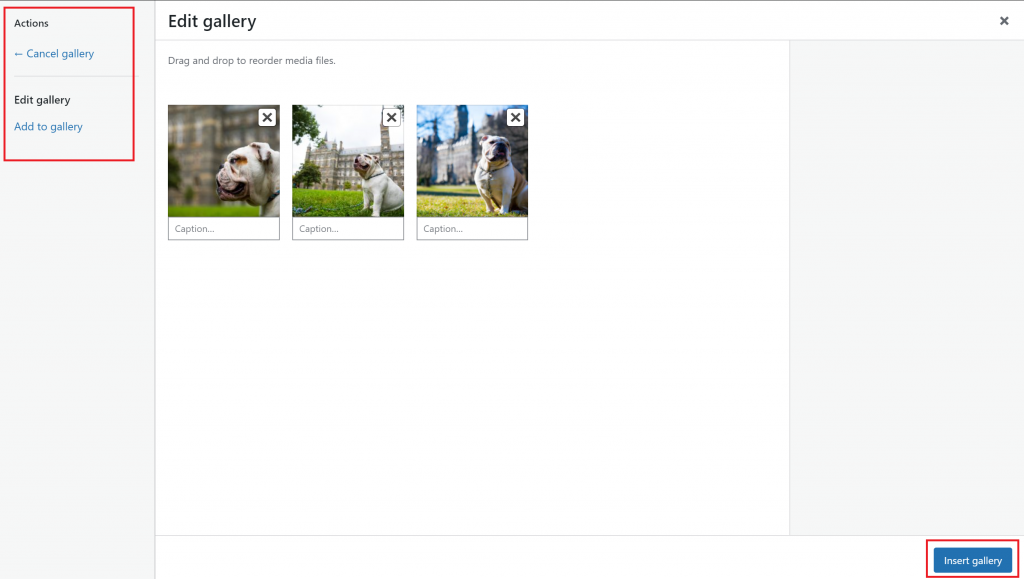
You will then be able to edit your gallery by rearranging the order of your images, or by adding more images. Once you are happy with your gallery, hit “Insert gallery”.
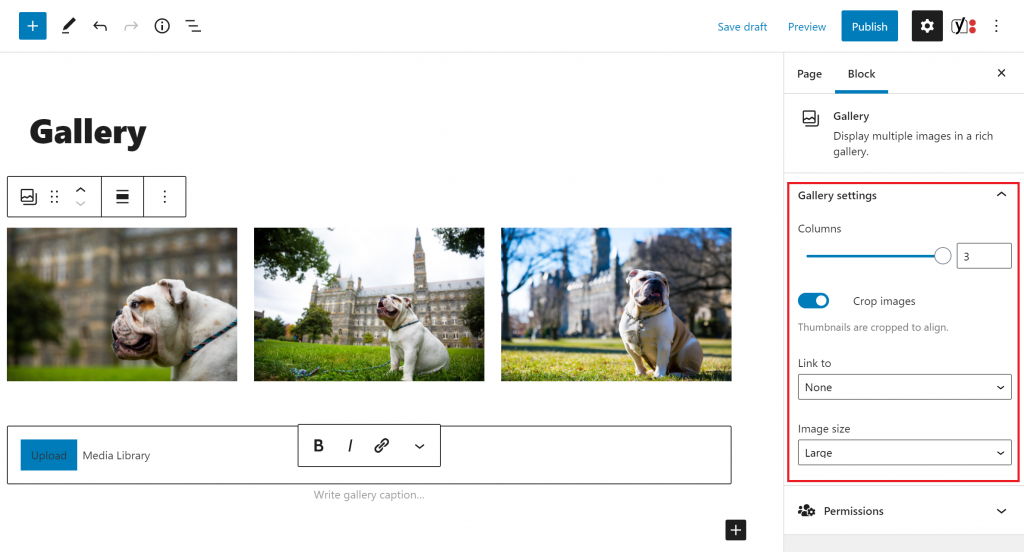
Once the gallery has been inserted into the page, you can adjust the layout of your images by adjusting the number of columns in the block settings to the right.
Gallery Guidelines
The purpose of the photo gallery is to showcase memorable and eye-catching imagery to your readers. Landscape style photos are used in order to capture this effect.
- We recommend that the caption for an image should not exceed 250 characters.
- We recommend either a 16:9 aspect ratio image or a 4:3 aspect ratio image for the photo gallery.
- Please use either use a set of 16:9 images or 4:3 images when creating a photo gallery; Be consistent with image sizes for the gallery and do not mix the different image sizes.
- Portrait images are not recommended.