Media Library
The Media Library is an area of the admin where you can view all images and media that have been added to your website. You do not necessarily need to add media directly to the media library for it to show up there. If, for example, you upload an image when adding an image block to a page these will automatically be added to the Media Library.
From the media library, you can sort your images based on the date they were added.
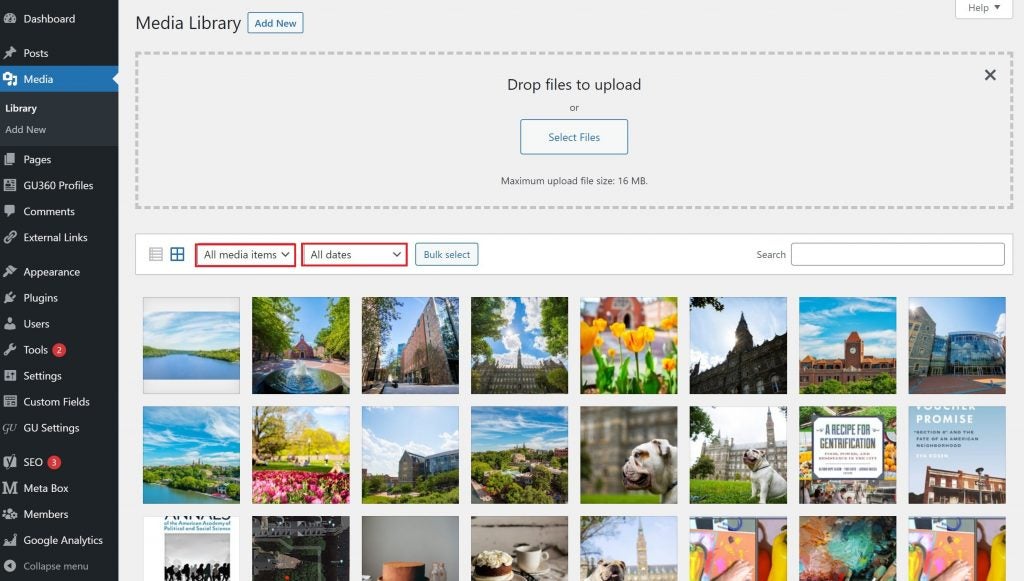
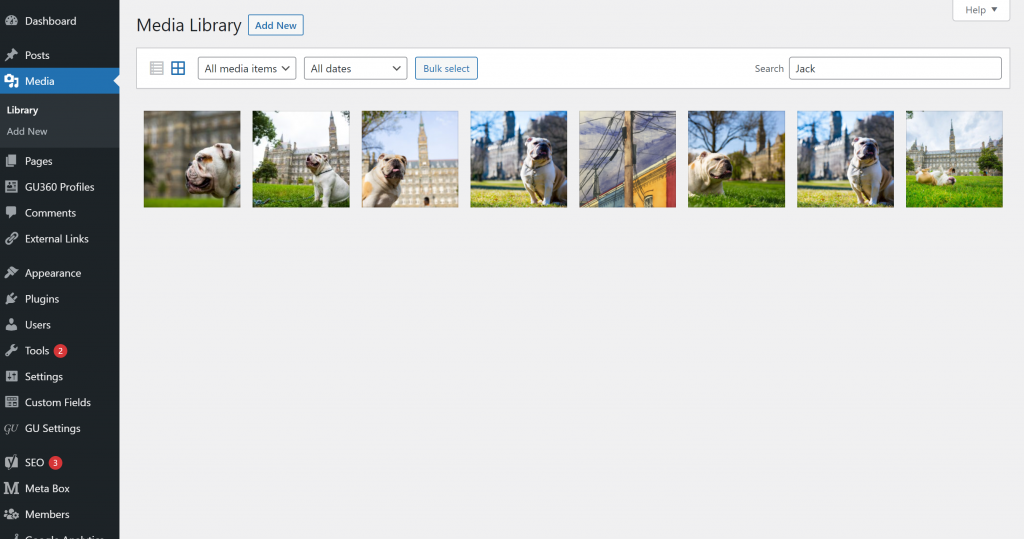
You can also use the search bar to filter based on keywords. This is one reason to give your images a descriptive file name and include relevant information in the alternative text field.
Adding Media
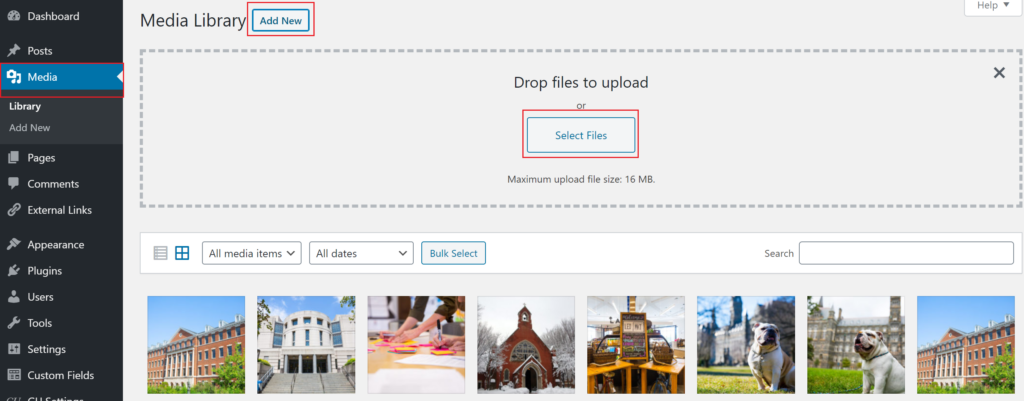
Create high-quality websites by adding media files. Use individual images, image galleries, and videos to enhance website content. To add a media file to the Media Library, go to “Media” > “Library” in the Administration Menu. Then select the “Add New” button.
Then click “Select Files” and locate the appropriate file(s). Then select “Open” and the file(s) will appear in the Media Library.
Clicking on the uploaded file will open the Attachment Details section.
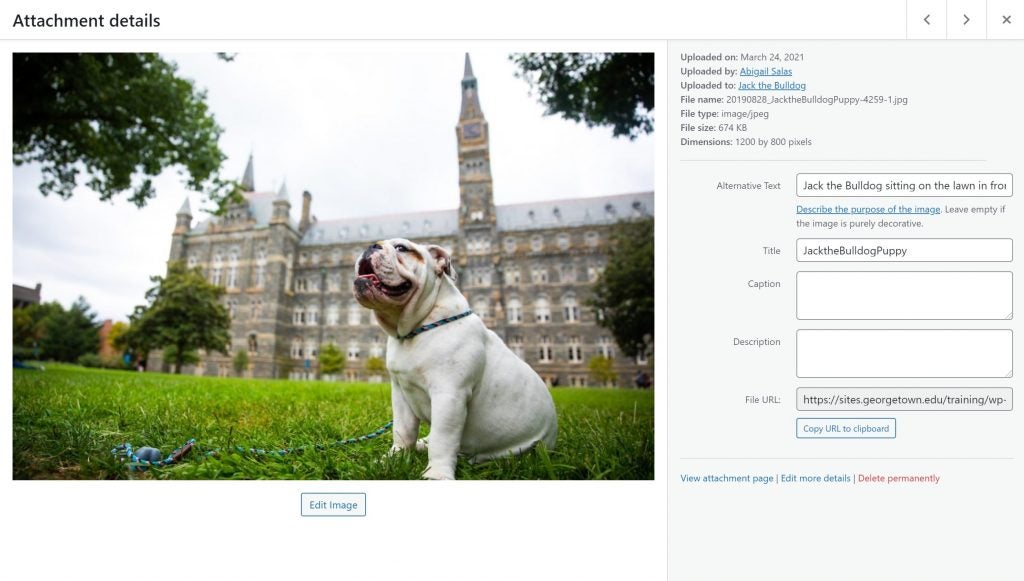
At the top right, there is information about the image: the image file name and type, the date the image was uploaded, and the image dimensions.
The fields underneath that information should be edited before uploading the media:
- Alternative text allows visually impaired users to hear a description of the image with their screen readers. Be sure to add alternative text to any uploaded images. For best practices on writing alternative text, visit our Web Accessibility website.
- The Title field will display the image title. To update the Title change the words in the field. The caption is an optional field that will display text below the image.
- The caption is an optional field that will display text below the image.
- The description is an optional description of the image that will display on the image attachment page (if you choose for the image to be linked to its attachment page).
- The image URL is the full direct link to where the image is stored on the site which cannot be changed.
For more information on adding media to a webpage, visit the Images & Media page.
Deleting Media
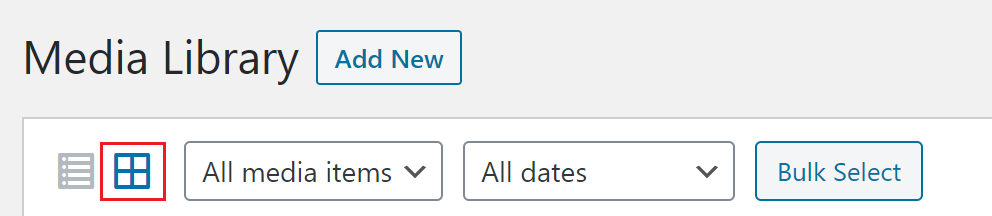
Editors can permanently delete any file in the Media Library. To do so, open the library by going to Media > Library. The Media Library can be viewed as a Grid or as a List.
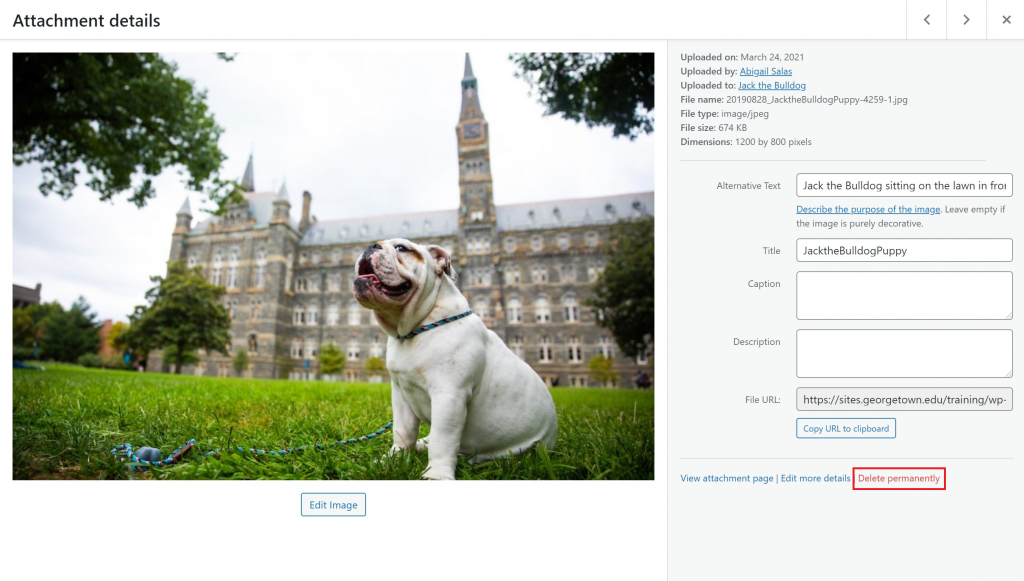
In the Grid view click on the file to be deleted, and the attachment details will open.
To delete the file, select the red “Delete Permanently” link.
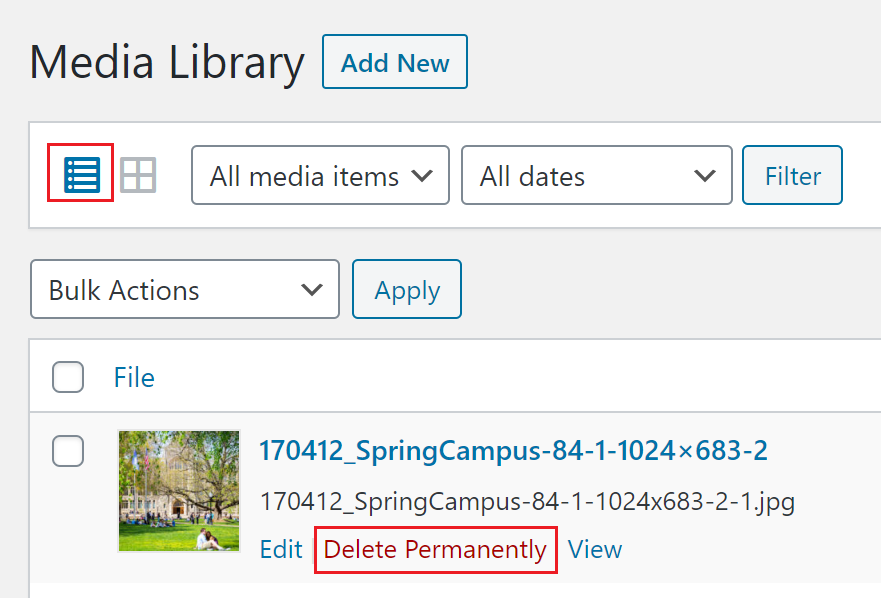
Or in the List view, hover over the file and click on the “Delete Permanently” link that appears.
Note that unlike posts, pages, and comments, deletions from your media library are permanent and will not be moved to a trash folder.
Bulk Deletion
To delete multiple files from the Media Library, go to Media > Library.
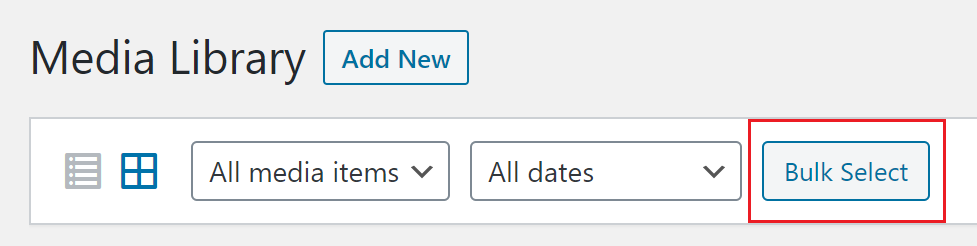
If the Grid View is open click the “Bulk Select” button.
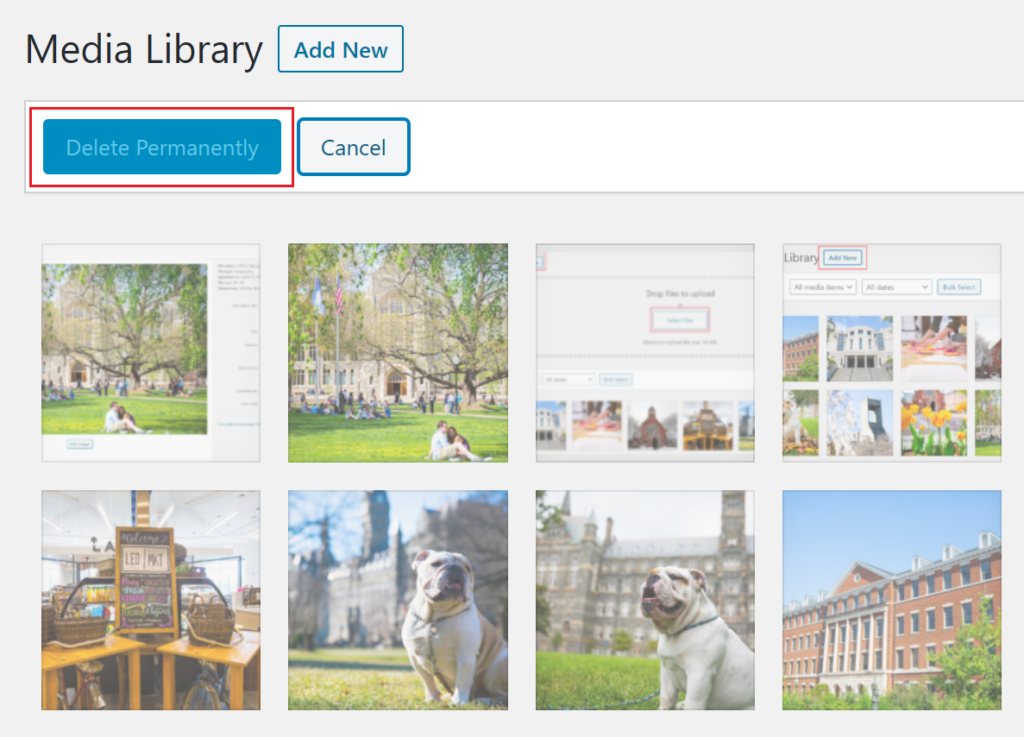
Then select the unwanted files and click the “Delete Permanently” button.
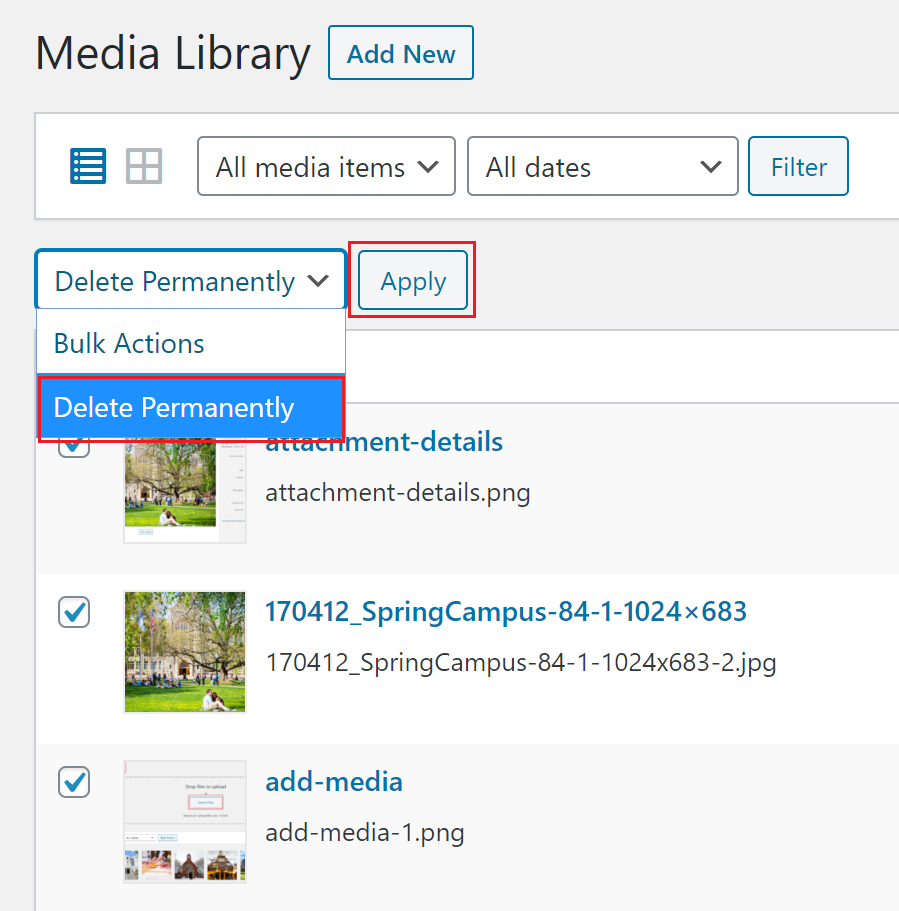
If the List view is open click on the boxes next to the files to be deleted.
Then change “Bulk Actions” to “Permanently Delete” and click the Apply button.