
Adding Media
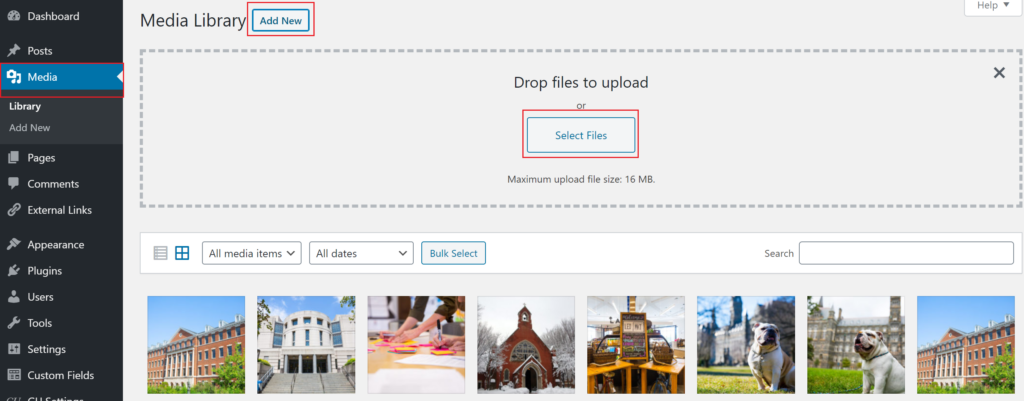
Create high quality websites by adding media files. Use individual images, image galleries, and videos to enhance website content. To add a media file to the Media Library, go to “Media” > “Library” in the Administration Menu. Then select the “Add New” button.
Then click “Select Files” and locate the appropriate file(s). Then select “Open” and the file(s) will appear in the Media Library.
Clicking on the uploaded file will open the Attachment Details section.
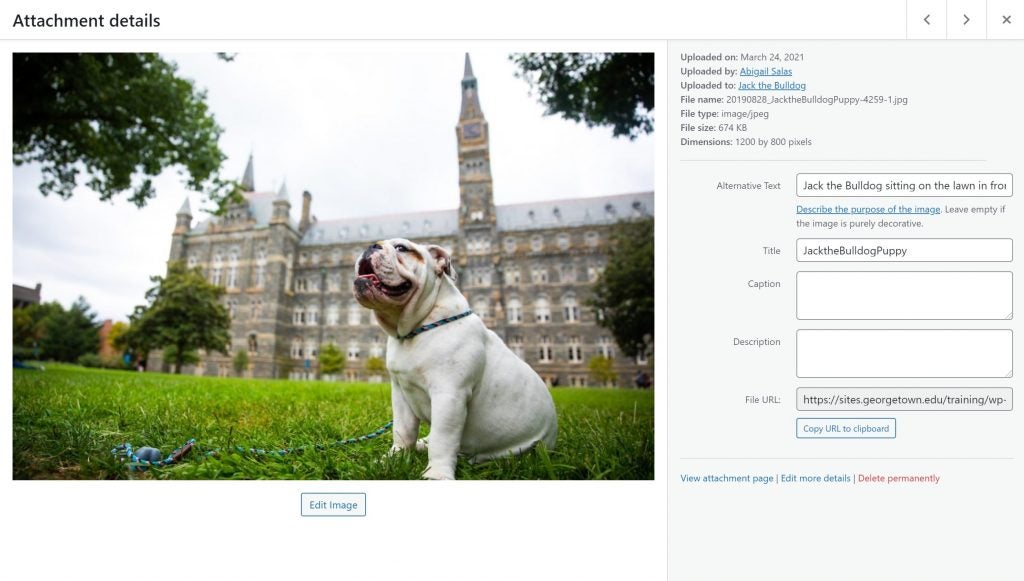
At the top right, there is information about the image: the image file name and type, the date the image was uploaded, and the image dimensions.
The fields underneath that information should be edited before uploading the media:
- Alternative text allows visually impaired users to hear a description of the image with their screen readers. Be sure to add alternative text to any uploaded images. For best practices on writing alternative text, visit our Web Accessibility website.
- The Title field will display the image title. To update the Title change the words in the field. The caption is an optional field that will display text below the image.
- The caption is an optional field that will display text below the image.
- The description is an optional description of the image that will display on the image attachment page (if you choose for the image to be linked to its attachment page).
- The image URL is the full direct link to where the image is stored on the site which cannot be changed.
For more information on adding media to a webpage, visit the Image & Gallery blocks documentation page.