Image Overlay Card Deck
An image overlay card should be used when you have a photo that connects with the web page you are linking to. They are mostly used on Landing Pages in order to direct users to further pages.
To add an Image Overlay card deck click the “add block” icon and search for “image overlay.” It can also be found under the “Layout Elements” section.
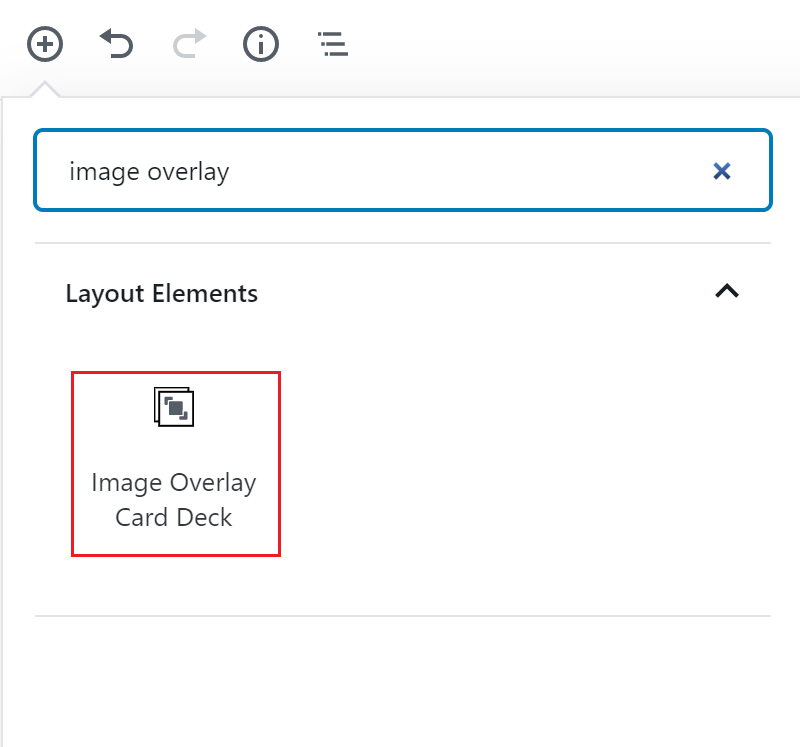
Click the Image Overlay Card Deck option and the block editor will appear with three card templates.
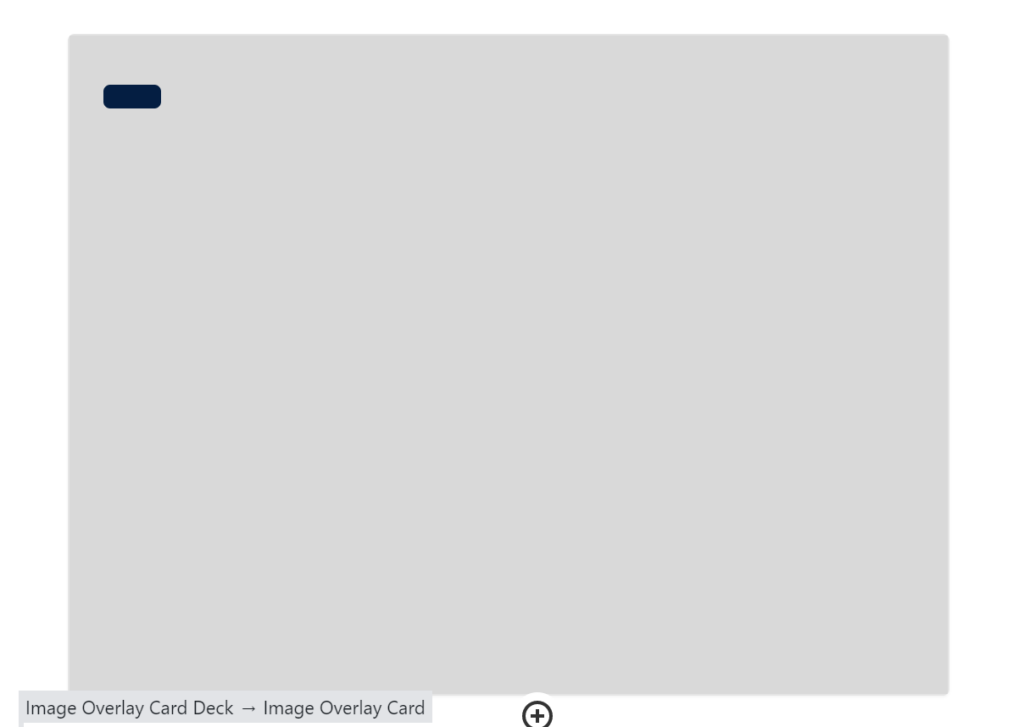
To edit an image overlay card, click on the card in the editor. On the right side of the page, the block settings will be displayed.
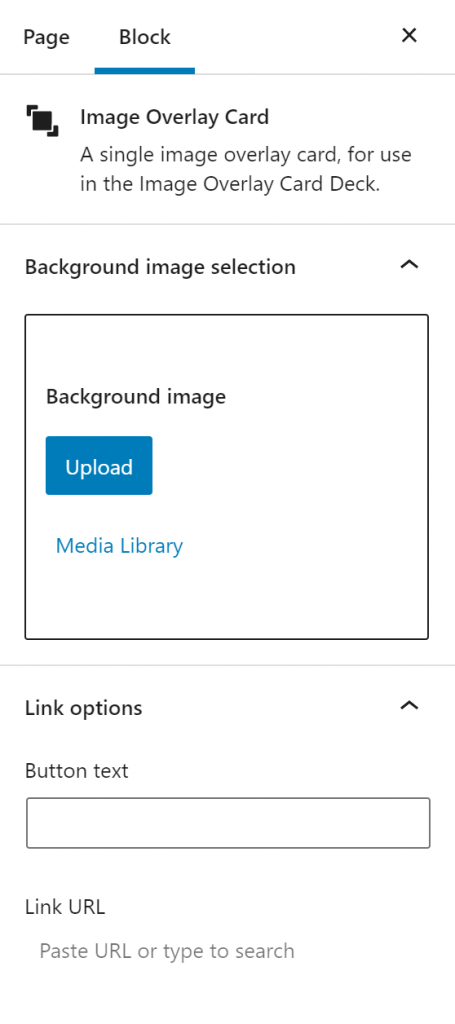
Upload an image in the “Background Image Selection” section. To upload an image from a computer, click the “Upload” button and select the desired image. To upload an image already in WordPress, click the “Media Library” button and select the desired image. Make sure all non-decorative images have alternative text.
Use the Link Options section to add a button on the image overlay card. Enter the link text in the “Button text” field. Enter the URL in the link URL field. Or search for a page/post on your site by typing in the title of the page/post in the link URL field.
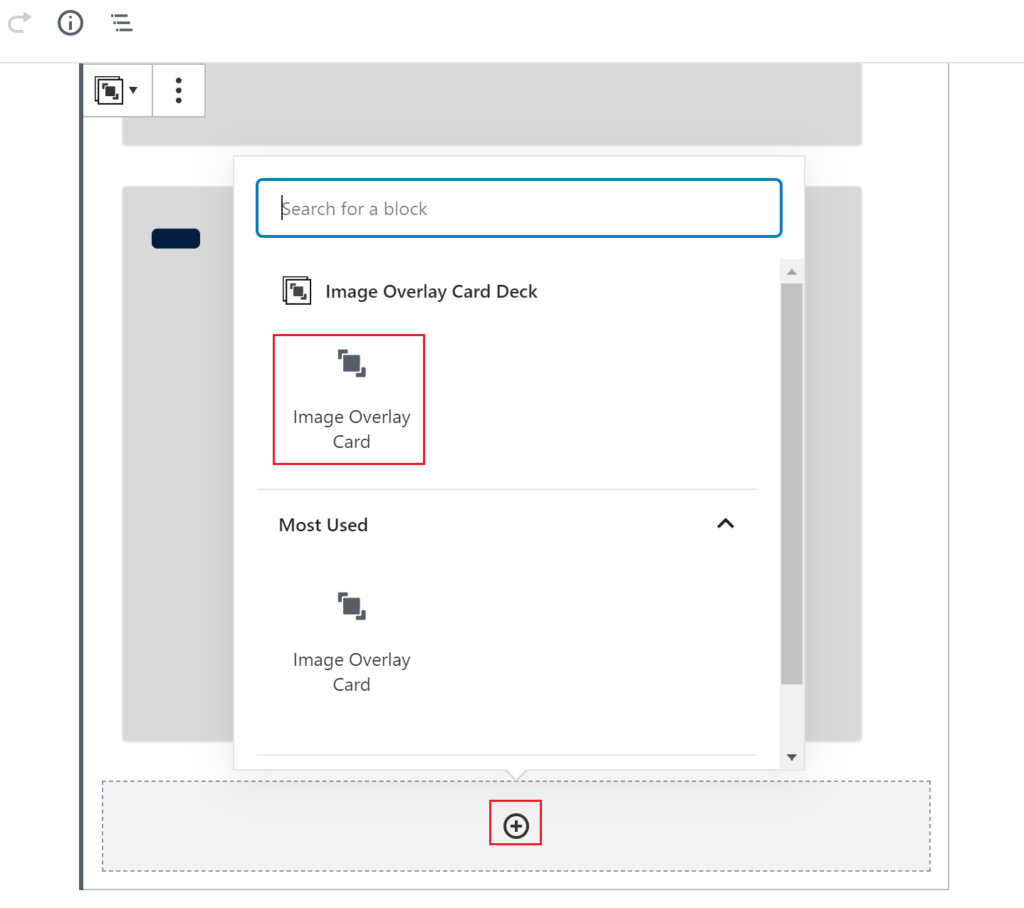
To add an image overlay card to the deck
Click on the plus sign in the card deck and select the “image overlay card” option. A blank card will appear in the deck editor.
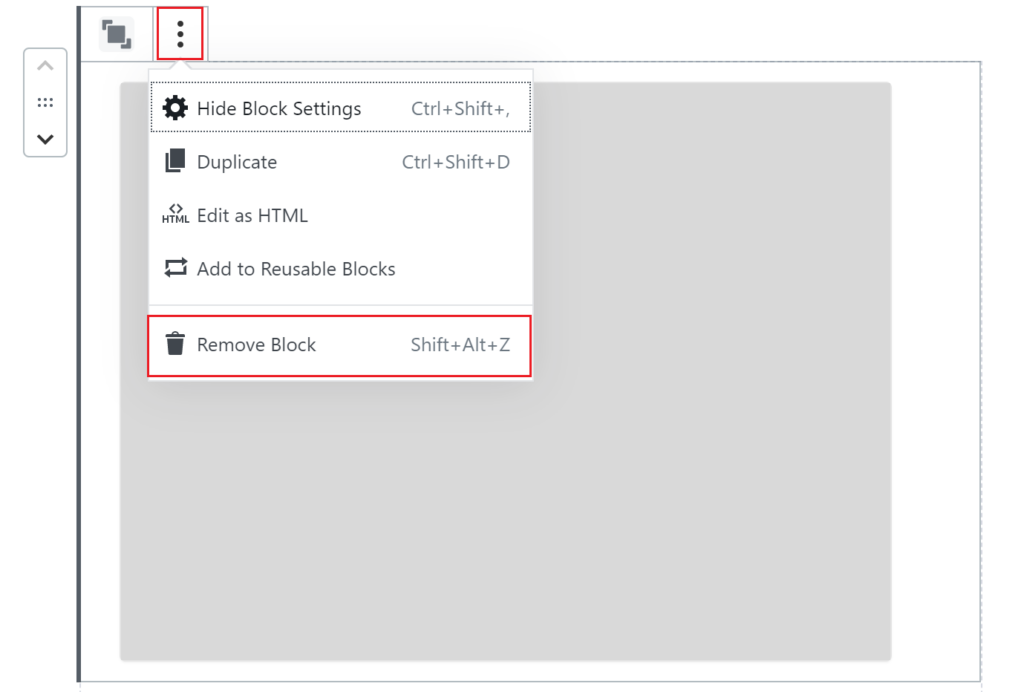
To delete an image overlay card
Click on three dots associated with the card to open the block settings. Select the “remove block” option.
To customize the appearance of an image overlay card deck
Click on the card deck in the editor and the card deck setting will appear on the right side of the page. This editor will change the appearance of every card in the deck.
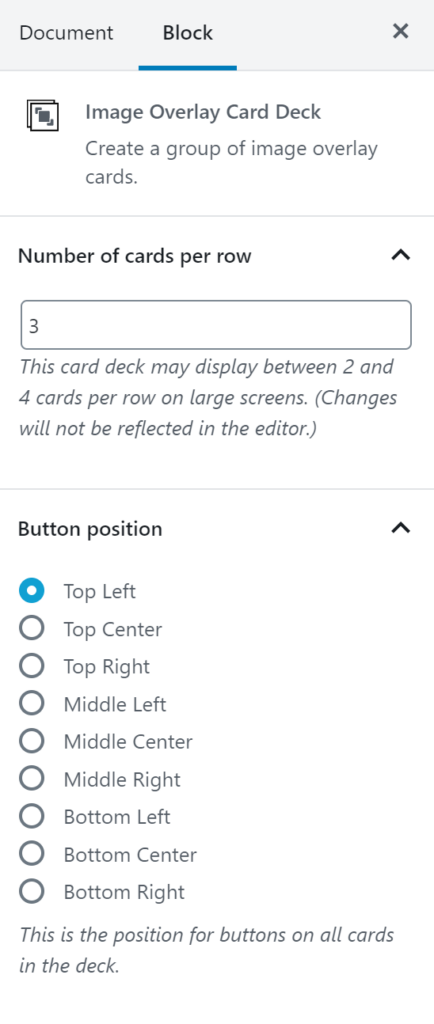
To edit the number of cards in a row of the card deck, change the number in the “Number of Cards per row” field. The card deck will display between 2 and 4 cards per row.
To edit where the button appears on the card, use the “Button position” section. Select the position desired from the list provided.
