People Profiles
The People Profiles block displays profiles from the new combined profiles system. Make sure you have created profiles for your site before adding the block.
To add the People Profiles block, click the “+” symbol and search for “People Profiles”. Then, select the People Profiles block icon.
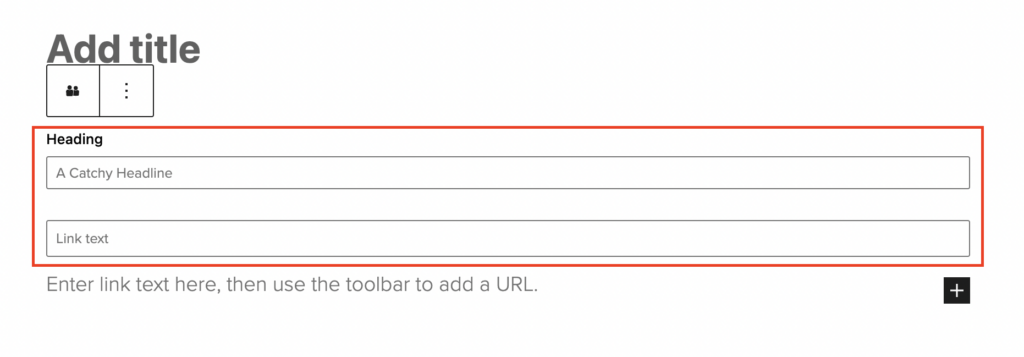
First, add an optional Heading and Link CTA to the block.
Next, open up the block tab of the inspector panel. Under Profile Selection, you’ll see options to add your profiles by Profile Group or Manual Selection.
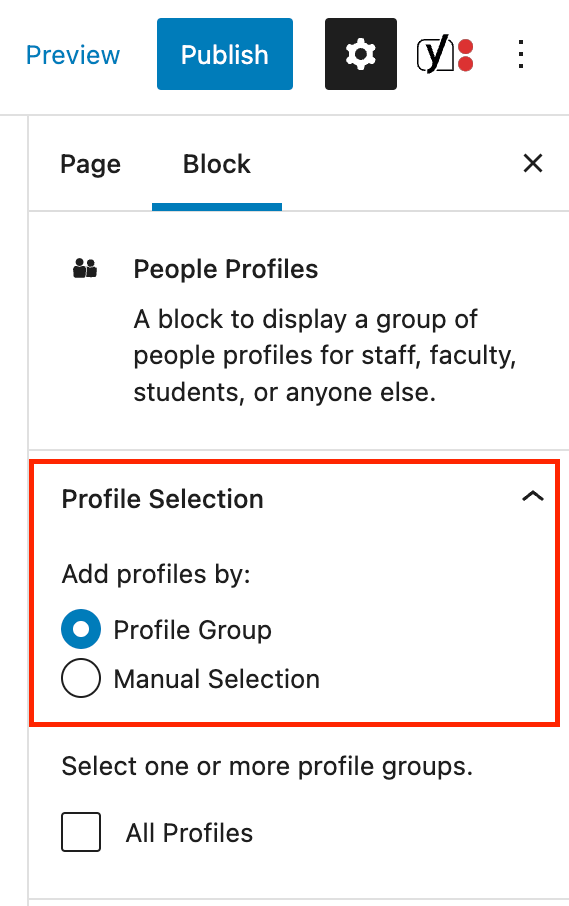
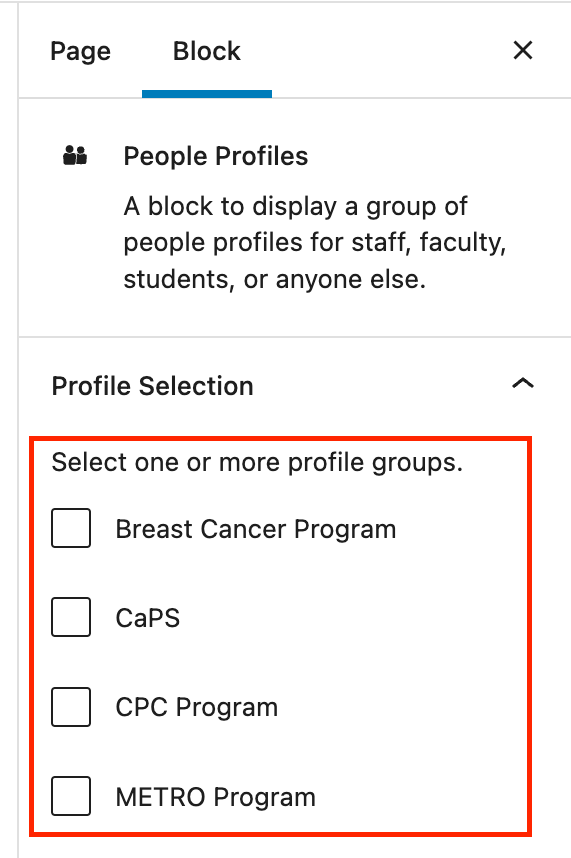
To add profiles by Profile Group, check one or more profile groups. If you do not see any Profile Groups, you can create a Profile Group by going to New Profiles > Profile Groups.
To add profiles by Manual Selection, click into the Person Profile text field. Then, use the drop-down list to select your desired profile. Alternatively, begin typing the name of the Profile in the text field to filter the list.
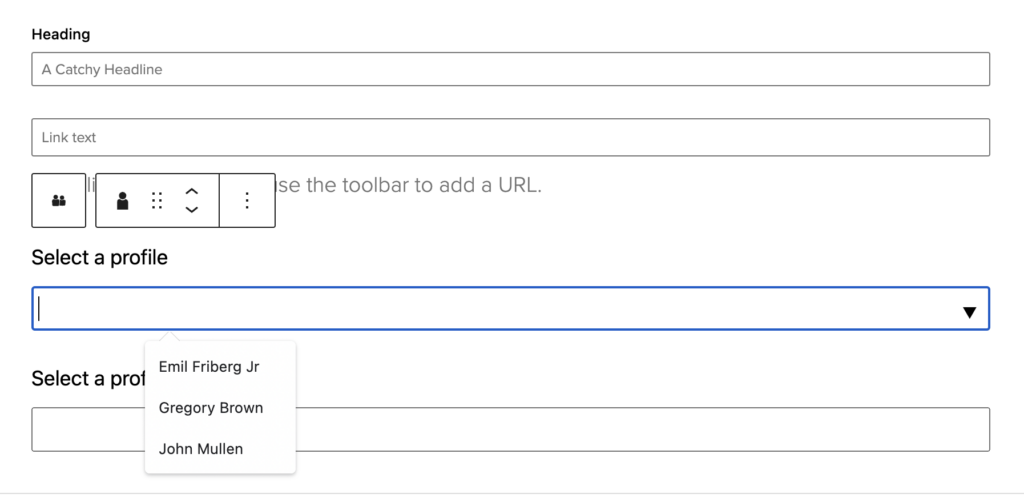
To add additional profiles, select the entire People Profiles block. Then, click the + icon in the lower right-hand corner.

Creating a Profile
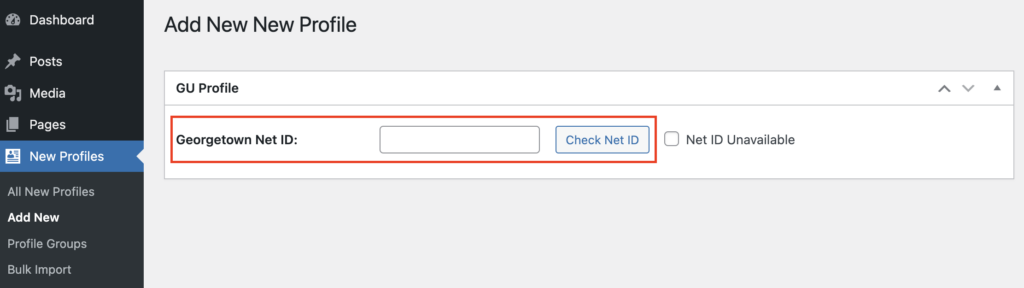
To create a profile, navigate to New Profiles > Add New from your dashboard.
For Profiles with a GU Net ID
Enter the Net ID of the person in the Georgetown Net ID field. Then, click Check Net ID.
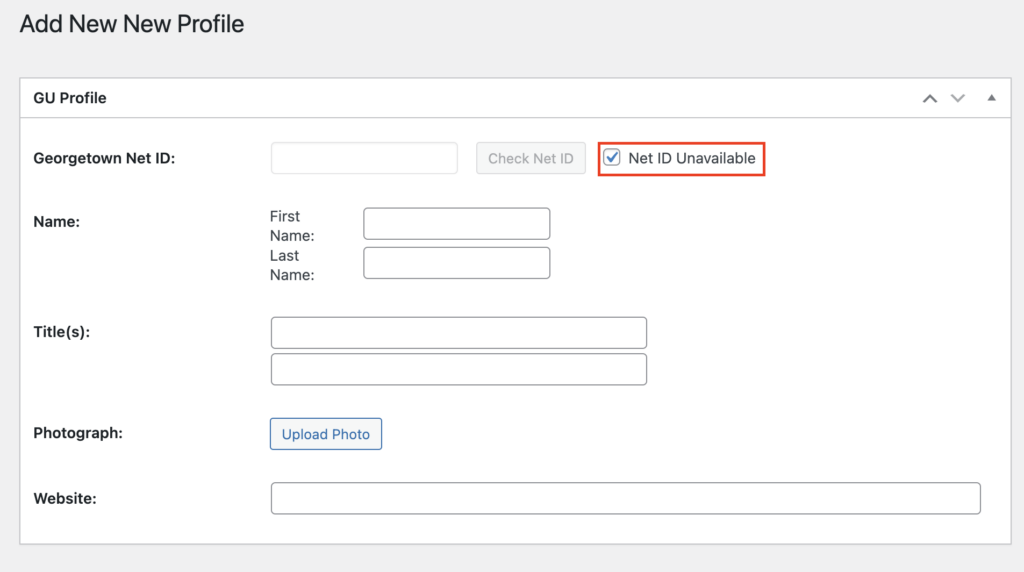
If the person has a profile in GU360, their information will automatically be retrieved. If the person is not in GU360, you’ll need to manually enter their information. All profiles must have:
- A first and last name
- At least one title
- An image
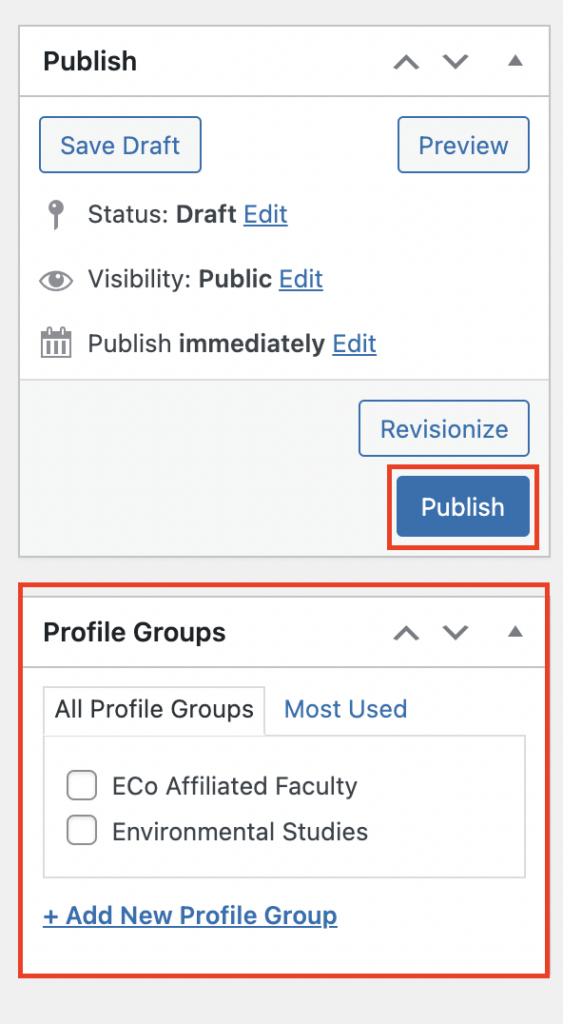
On the right side of the screen, you’ll see options to add the profile to a Profile group. Once you’ve made your changes to the profile, click the Publish button.
For Profiles without a GU Net ID
Check the Net ID Unavailable box. Then, manually enter the profile information.
Once you’ve entered the information for the profile, click the Publish button.
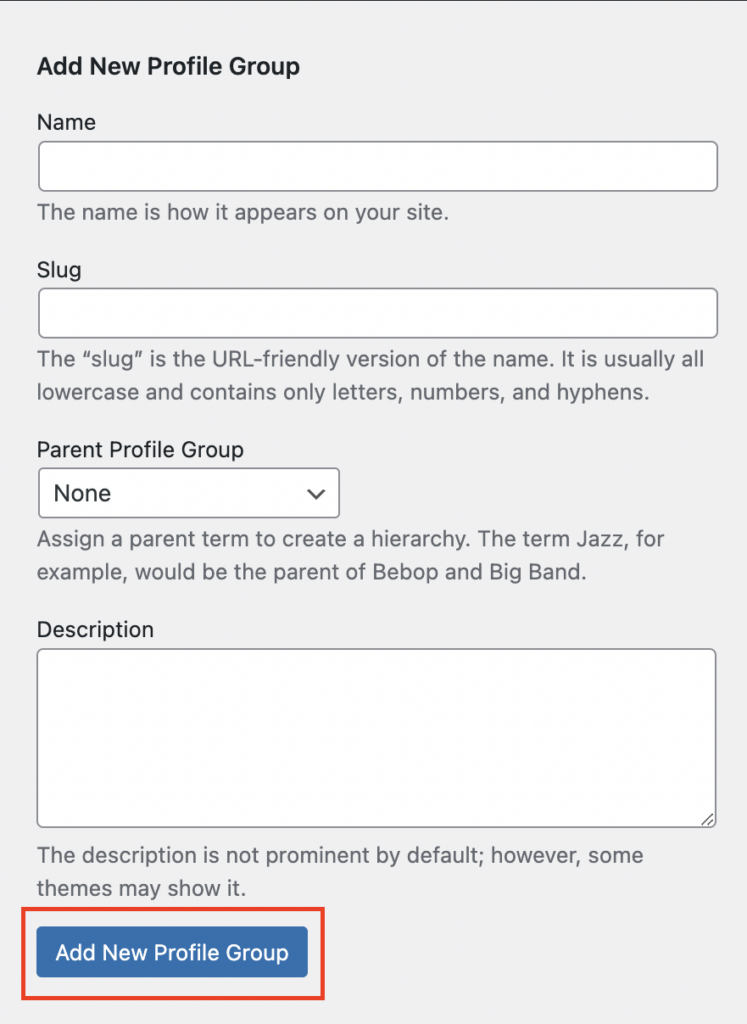
Creating a Profile Group
To create a Profile Group, navigate to the Profile Groups page from your dashboard by going to New Profiles > Profile Groups.
Next, give your group a name, slug, an optional parent profile group, and an optional description. Then, click the “Add New Profile Group” button.
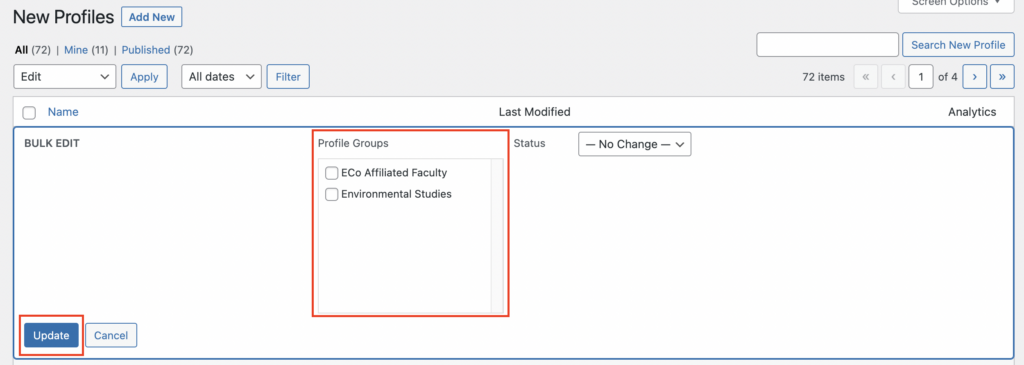
Once you’ve created the Profile Group, you’ll need to assign profiles to the group. To assign a profile to a group, navigate to the New Profiles page in WordPress.
Next, select the profiles you wish to assign to the group by checking the box to the left of the name. In the Bulk Actions dropdown list, select Edit then Apply.
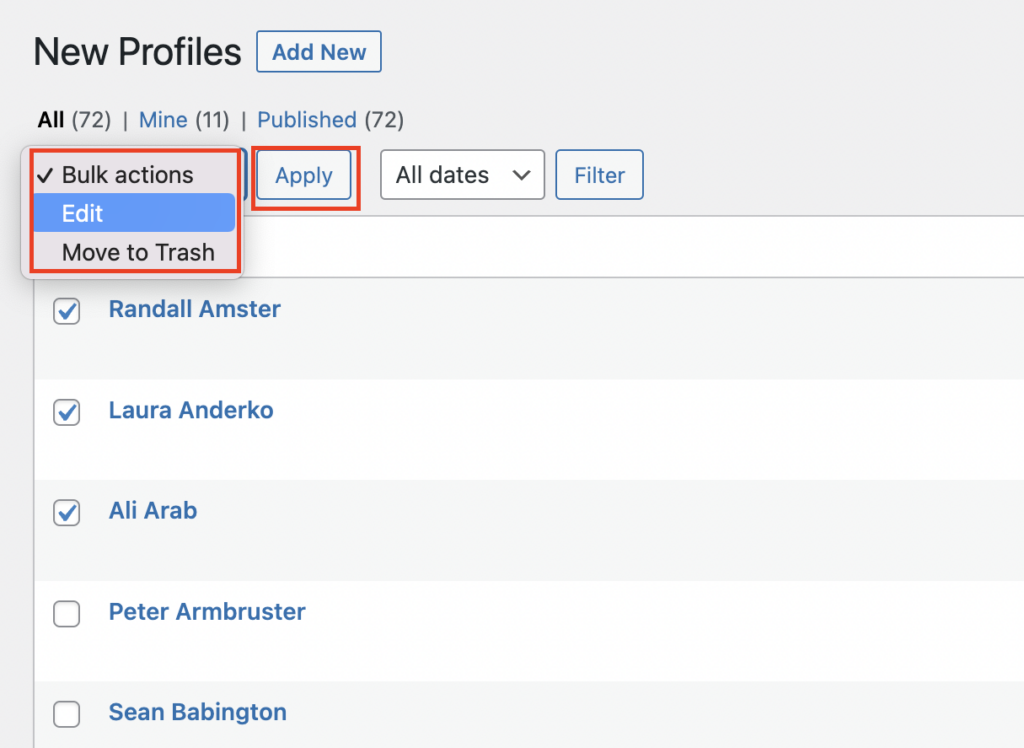
Choose the desired Profile Group and click Update.