Events
The events block works with the Events calendar system on the main University website. If you do not see any events appearing after adding the Events block, please review the Event Manager Guide to make sure you have properly added and published your events.
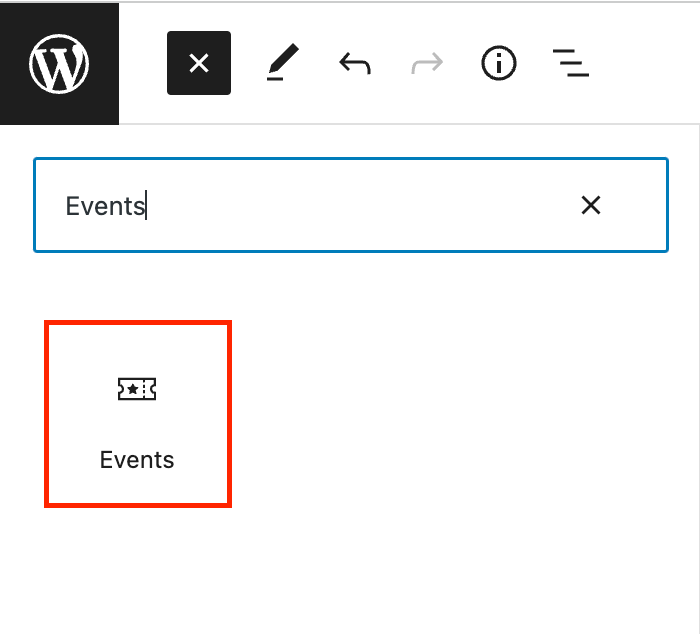
To add the Events block, click the “+” symbol and search for “Events”. Then, select the Events block icon.

Editing an Events block
Once you add the block in the editor, it will open with a field for the Title and the Calendar ID.
The Calendar ID should be the domain name of your website (i.e. the part that comes before “.georgetown.edu”). For example, the ID for the Georgetown College would be “college”. Leave the Calendar ID field blank to pull in the main university calendar.

After customizing the title, entering the ID into the field, and publishing the page, the calendar will appear on the webpage. If you do not see any events appearing, please review the Event Manager Guide to make sure you have properly added and published your events.
Additional settings
In the block tab of the inspector panel, you will find additional options to customize your Events block.
Customize the number of Events by moving the slider or by typing the number in the text field. You can display between 1-3 Events per block.

Below the Block Options setting, there is an option to add a decorative featured image. The featured image can help capture your audience’s attention and provide context to the superb quality of events presented in the past. For a seamless appearance, use a featured image with a darker background.

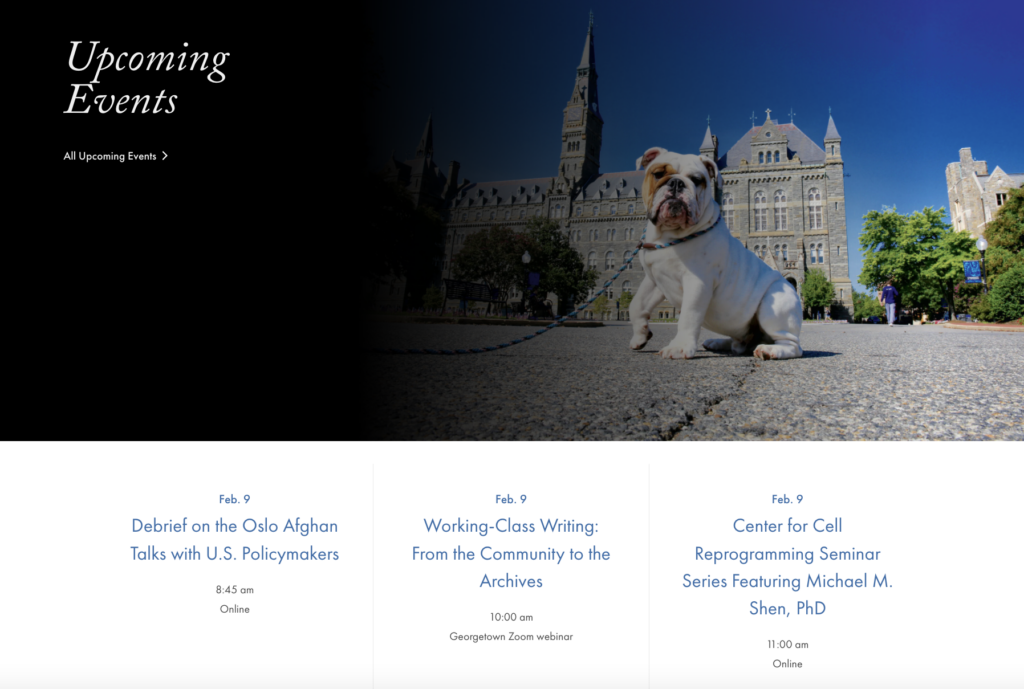
Events Example
