Heading
Headings separate content into chunks under similar topics and act as an outline for your content. If all styles and images are disabled in the browser, the content should still be readable — this is essential for readability and accessibility, especially by screen readers. h1 is the largest heading available, and h6 is the smallest heading available.
You can think of headings like the font used to separate chapters and sections in a book. h1 would be used for the book’s cover, whereas h2 would be used for the names of chapters themselves. Sub-chapters would be h3, and section headings within those sub-chapters would be h4. Following this analogy, it would be inappropriate to use the same size and style of font for the chapters of a book and for the same chapter’s section headings.
With GU WordPress sites, h1 is used for the page title; it is recommended to use h2 as the highest heading level in a page or post. Using the proper order of headings is important for reading comprehension and for accessibility reasons. Thus, content editors should always use the correct heading, even if another heading style is preferred. In short, do not skip headings, and do not choose headings based on the way they look!
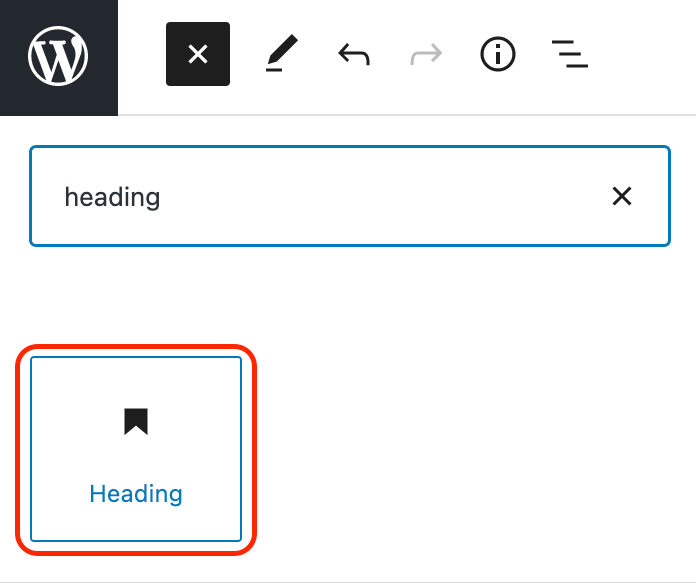
To add the Heading block, click the “+” symbol and search for “Heading”. Then, select the Heading block icon.

Editing a Heading Block
When you select a heading block, the word “Heading” will appear in light blue as placeholder text. To add text to your heading, click into the “Heading” text and begin typing.

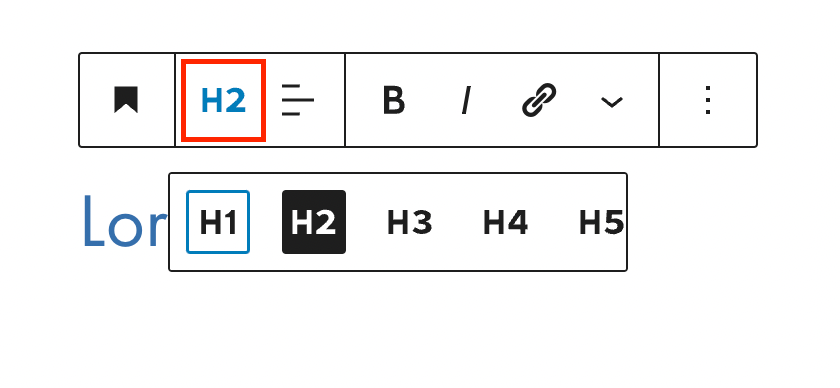
To change the level of your heading, click on the heading level icon in the block toolbar. Then, select the appropriate heading level.

Heading Examples
Note that the Page Title and Heading level 1 are the same size.